

Autoform File
Description
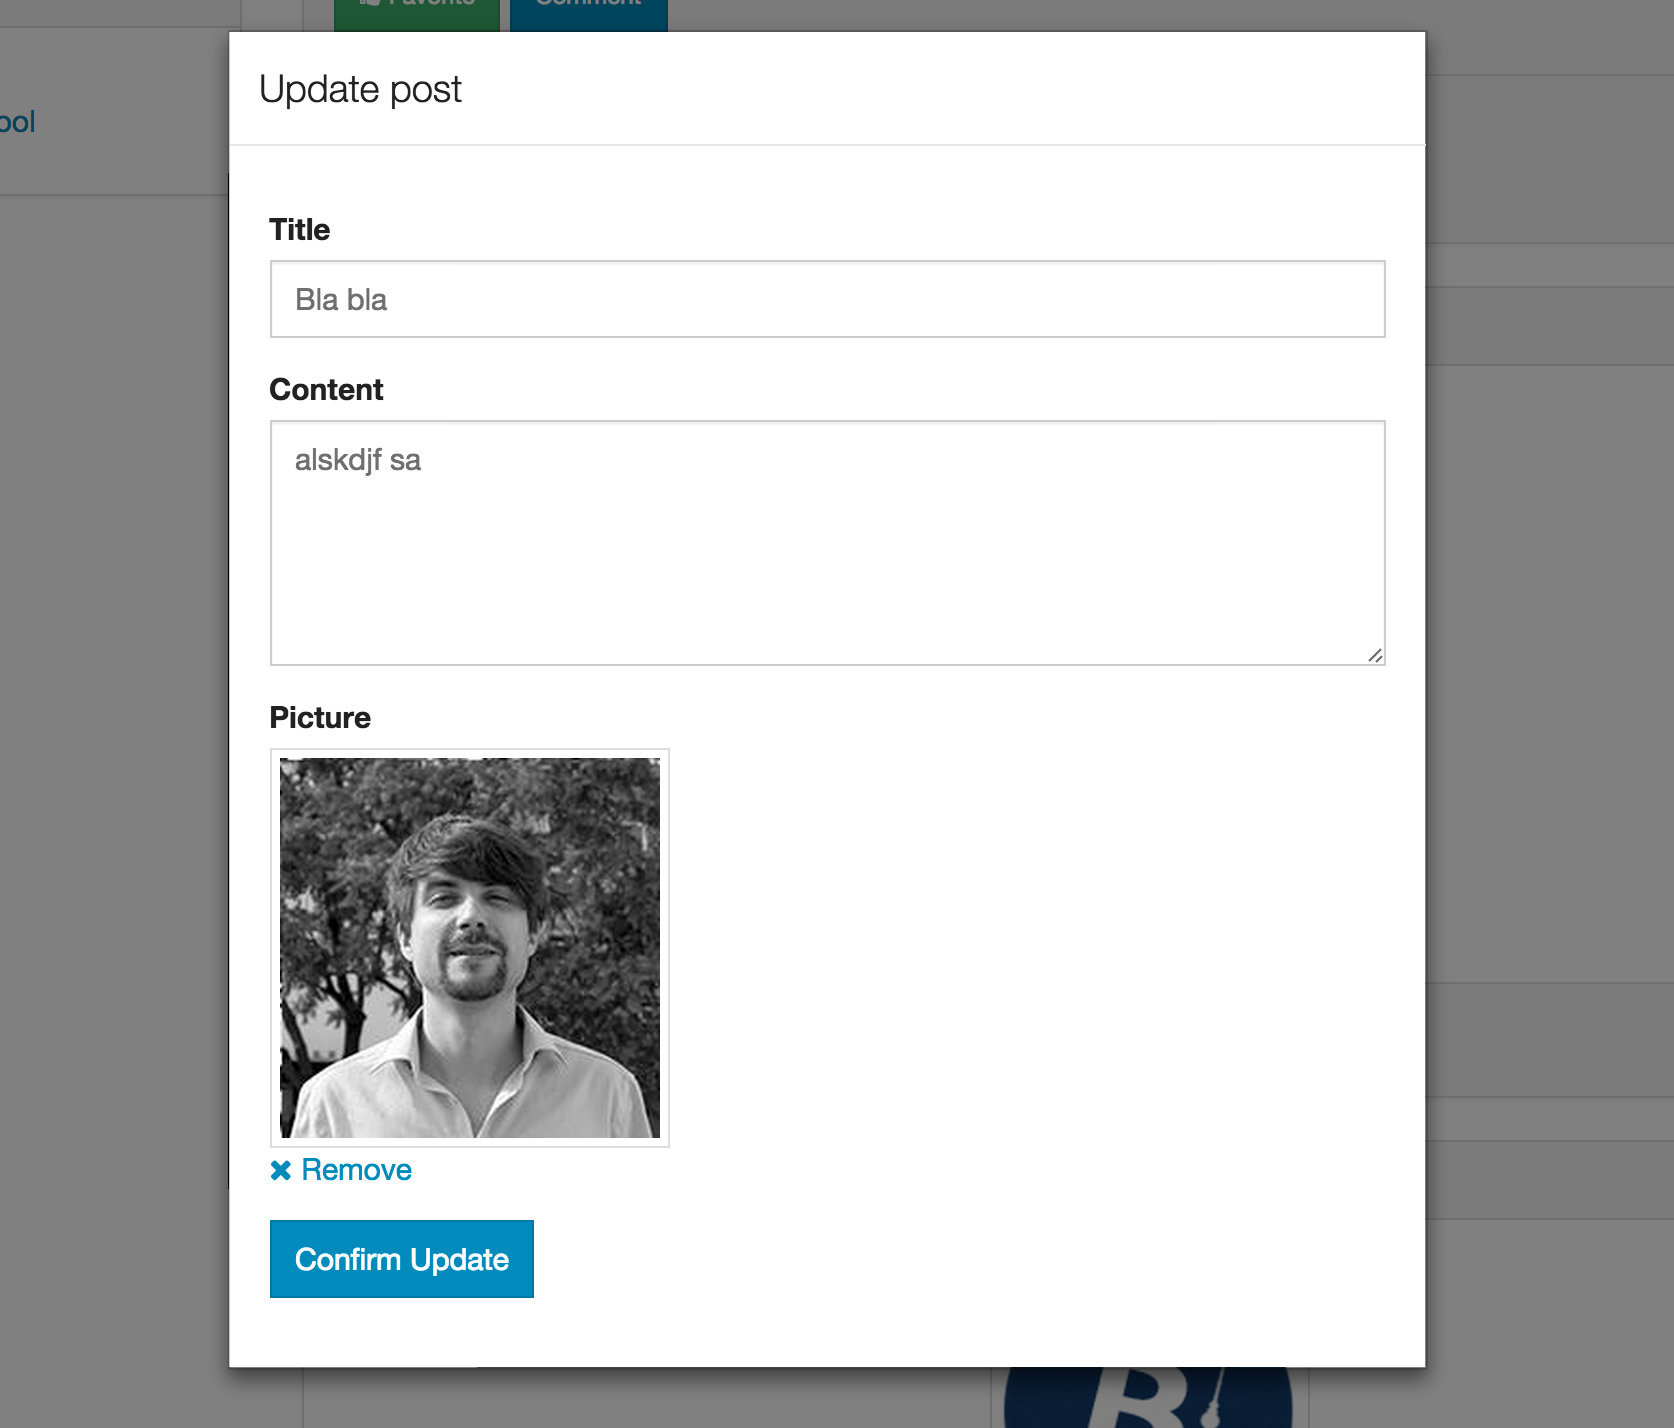
Upload and manage files with autoForm for materialize
Forked from yogiben:autoform-file
Quick Start
-
Install
meteor add gildaspk:autoform-file-materialize -
Create your collectionFS (See collectionFS)
@Images = new FS.Collection("images",
  stores: [new FS.Store.GridFS("images", {})]
)
- Make sure the correct allow rules & subscriptions are set up on the collectionFS
Images.allow
  insert: (userId, doc) ->
    true
  download: (userId)->
    true
and
Meteor.publish 'images', ->
  Images.find()
and in your router.coffee
  @route "profile",
    waitOn: ->
      [
        Meteor.subscribe 'images'
      ]
- Define your schema and set the
autoformproperty like in the example below
Schemas = {}

@Posts = new Meteor.Collection('posts');

Schemas.Posts = new SimpleSchema
	title:
		type:String
		max: 60

	picture:
		type: String
		autoform:
			afFieldInput:
				type: 'fileUpload'
				collection: 'Images'
        label: 'Choose file' # optional

Posts.attachSchema(Schemas.Posts)
The collection property is the field name of your collectionFS.
- Generate the form with
{{> quickform}}or{{#autoform}}
e.g.
{{> quickForm collection="Posts" type="insert"}}
or
{{#autoForm collection="Posts" type="insert"}}
{{> afQuickField name="title"}}
{{> afQuickField name="picture"}}
<button type="submit" class="waves-effect waves-light btn">
  <i class="mdi-content-send.right"></i>
  Insert
</button>
{{/autoForm}}
###Security & optimization###
The above example is just a starting point. You should set your own custom allow rules and optimize your subscriptions.
Customization
You can customize the button / remove text.
Defaults:
{{> afFieldInput name="picture" label="Choose file" remove-label="Remove"}}